

How to Stop Sports Bra Straps Digging In
Quick Summary
Sports bra straps dig in when the band is too loose and the straps carry weight they should not. Fix the band first so it sits level and snug, then loosen the straps until they stop pressing, and choose wider straps if the problem continues.
- Check the band before the straps, since a band that rides up forces the straps to dig in.
- Test the band by lifting your arms, bending forward and taking a deep breath.
- Loosen the straps until they sit flat on the shoulder, then re-tighten only enough to stop slipping.
- Check that the cup fits and the underwire lies flat against your ribcage, not on breast tissue.
- Replace the bra if the band no longer stays level or the fabric has lost its stretch.
Table of Contents
Why Sports Bra Straps Dig Into Your Shoulders
Sports bra straps dig into your shoulders for one main reason: the bra is carrying weight it was never designed to carry. Most of your bust support should come from the band around your ribcage, with the straps acting as stabilisers. When the band is too loose, the straps take over and press into the skin. The fix is usually simple, but you have to find the cause first.
A common mistake is tightening the straps to stop them slipping. That often makes the problem worse. Straps should not dig into the skin, and the main support should come from the band. If your straps hurt, the straps are probably not the real problem.
Here is what usually causes the pressure:
- A band that is too loose or has stretched out
- Straps set too tight, pulling the fabric into the shoulder
- Narrow straps that concentrate pressure on a small area
- A cup size that is too small or too large
- Heavy movement that makes the bra shift during exercise
Work through these in order. Most people find the cause in the first two steps.
Step 1: Check Whether the Band Fits Correctly
Start with the band, not the straps. Put the bra on and check whether the band sits level across your back and stays in place when you raise your arms. If it rides up, the straps are doing the job the band should be doing.
Watch out: a band that rides up can cause the straps to dig in during every movement. Fixing the straps alone will not solve this.
To test the band, do three quick checks:
- Lift your arms overhead and see if the band moves up
- Bend forward and check if the back of the bra shifts
- Take a deep breath and confirm the band stays snug without pinching
Check the band first when the bra rides up, before adjusting the straps. If the band fails any of these tests, try a smaller band size before you change anything else.
Step 2: Adjust Strap Length and Tension
Once the band fits, adjust the straps. The aim is support without pressure. Loosen the straps until they no longer dig in, then check that the bra still holds you in place.
Follow these steps:
- Put the bra on and fasten the band on the loosest hook
- Adjust each strap until it sits flat on the shoulder
- Lift your arms and move through a quick warm-up
- Re-tighten only as much as needed to stop slipping
Strap shape can also affect comfort, so choosing the right strap design can help as much as adjusting tension. Keep the straps as loose as possible while still providing support.
Step 3: Check Cup Size and Underwire Position
If the band fits and the straps are adjusted but the pressure remains, check the cup size. A cup that is too small pushes tissue outward and onto the straps. A cup that is too large lets the straps slide and dig in at different points.
Look at the underwire next. It should sit flat against your ribcage, not on breast tissue. If it digs into your sides or lifts away from your body, the bra does not fit your shape.
Try the scoop-and-swoop method. Lean forward, scoop your breast tissue into the cup from the sides and front, then swoop it upward and forward. This helps the cup sit correctly and can reduce pressure on the straps.
Step 4: Choose Wider or Padded Straps
Strap width matters. Narrow straps press into a small patch of skin and can leave marks during long sessions. Wider straps spread the load across more of your shoulder.
Look for these features when choosing a bra:
- Straps that are wider rather than narrow
- Padded or cushioned straps for extra comfort
- Adjustable straps so you can fine-tune the fit
- Racerback or cross-back designs if your straps keep sliding
The GrantB Core Sports Bra (£29.99) features adjustable straps and high support for yoga, gym training, running and HIIT. Its adjustable straps let you test the tension steps above. adjustable straps in the GrantB Core Sports Bra give you room to find the most comfortable setting for your shoulders.

Step 5: Redistribute Support Between the Band and Straps
Most of your support should come from the band. When you have tested every step above, make sure the band carries the load. If the bra feels like it pulls on your shoulders, the balance may be off.
Try this check during a light workout. Do a few squats and arm raises. Notice whether the straps stay put and whether you feel pressure building on your shoulders. If they do, return to Step 1 and tighten the band a notch. Then loosen the straps again.
The goal is a bra that feels supportive through the ribcage and light on the shoulders. That balance is what stops digging in.
Fit Guidance for Different Body Shapes
Body shape changes how straps sit. Narrow shoulders often need straps placed closer together, and fuller busts usually need a wider band and firmer support.
If you have narrow shoulders, look for cross-back or racerback straps that stay in place. If you have a fuller bust, prioritise a snug band and a cup that holds tissue without bulging. For a closer look at how outfits and cuts work across different builds, see our gym outfit ideas by body shape for practical examples.
For high-impact sessions, a guide to high-support sports bras can help you compare options that stay secure during long workouts.
Preventing Chafing and Recognising Skin Irritation
Constant rubbing can cause chafing, redness and sore spots. Check your skin after each workout. Mild redness that fades within an hour is usually fine. Persistent marks, burning or broken skin are signs to stop wearing that bra and change your fit.
Many people also wonder whether other activewear causes the same problem. Clothing like leggings can cause chafing too, so check your whole outfit if irritation keeps returning.
Some practical steps help:
- Wash the bra after each wear to remove sweat and salt
- Air dry it flat to keep the elastic firm
- Use a barrier cream on the shoulders if you exercise for long periods
- Choose soft, flat seams where the strap meets the band
When to Replace a Stretched-Out Sports Bra
Sports bras lose support over time. Elastic weakens, the band stretches out and the straps may stop holding their shape. A bra that once fitted well may start to dig in simply because it no longer supports you.
Replace your bra when you notice these signs:
- The band no longer stays level on your back
- The straps keep slipping or digging in despite adjustment
- The fabric looks thin or has lost its stretch
- Your old bra no longer holds you firmly during movement
If you have tried every step in this guide and the straps still dig in, the bra is likely worn out. Check the signs that your high-impact sports bra is worn out to confirm whether it is time for a new one. Choosing a replacement with the right band, straps and cup will solve most fit problems for good.
Frequently Asked Questions
Why does a bra strap slip off the shoulder?
Straps usually slip because the band is too loose or the strap is set too long, so the bra rides up and the straps lose their anchor. Check the band first: it should sit level across your back and carry most of the support. Once the band is snug, shorten the straps until they stay put without pulling the shoulders forward. If the straps still slide after both adjustments, the cup may be too large, so check cup fit before buying a different size.
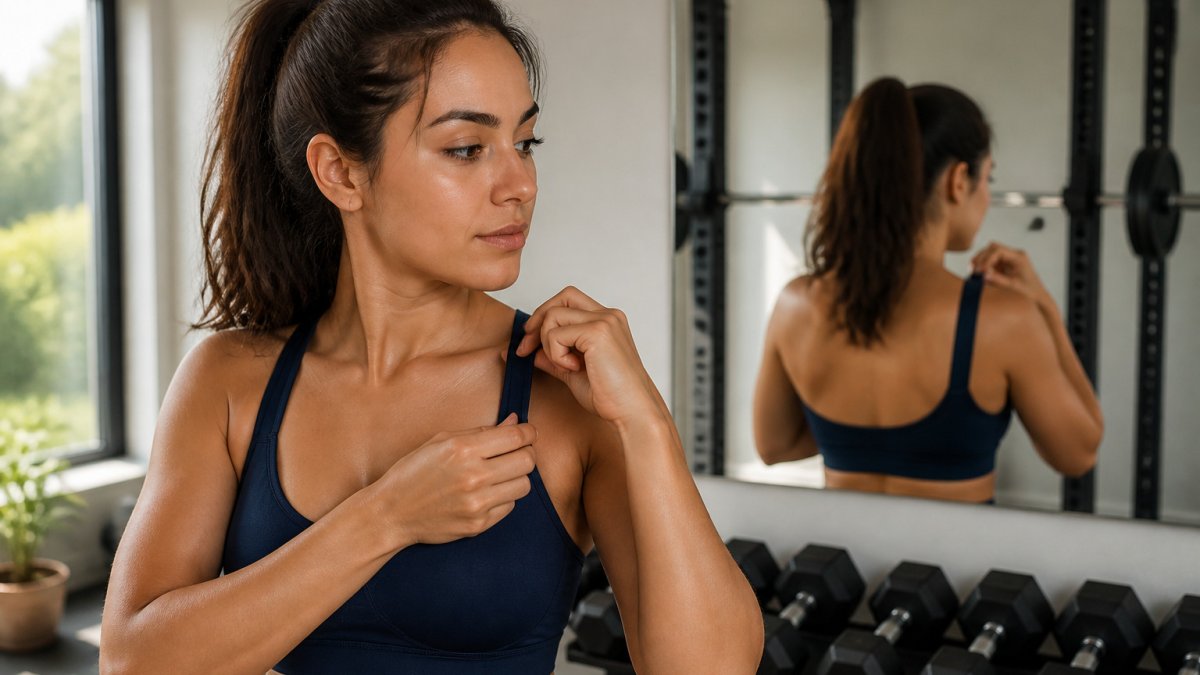
Is shoulder grooving from bra straps permanent?
Pressure from tight or narrow straps can leave shoulder grooves, and repeated pressure over long periods can leave marks that last longer. Switching to wider straps with padding, loosening the strap tension and wearing a bra that fits the band correctly all reduce the pressure that causes grooves. If redness, numbness or persistent pain develops, speak to a GP.
Should sports bra straps feel tight?
Straps should feel secure but should not dig in, pinch or leave deep marks. You should be able to slide a finger under the strap without strain. Most of the support should come from the band around your ribcage, so if the straps are doing the work, tighten the band rather than the straps. Stretch your arms overhead and move through your normal workout: straps that stay in place and cause no pain are fitted correctly.
Should I choose wider or adjustable straps for a sports bra?
Wider straps spread pressure across more of the shoulder, which helps if standard straps leave marks. Adjustable straps let you fine-tune length and tension, which matters if your shoulders are narrow or sloped. The GrantB Core Sports Bra (£29.99) has adjustable straps and high-impact support, so you can alter tension as your fit changes. Choose the option that fits your shoulder shape, then check that the band still provides most of the support.
